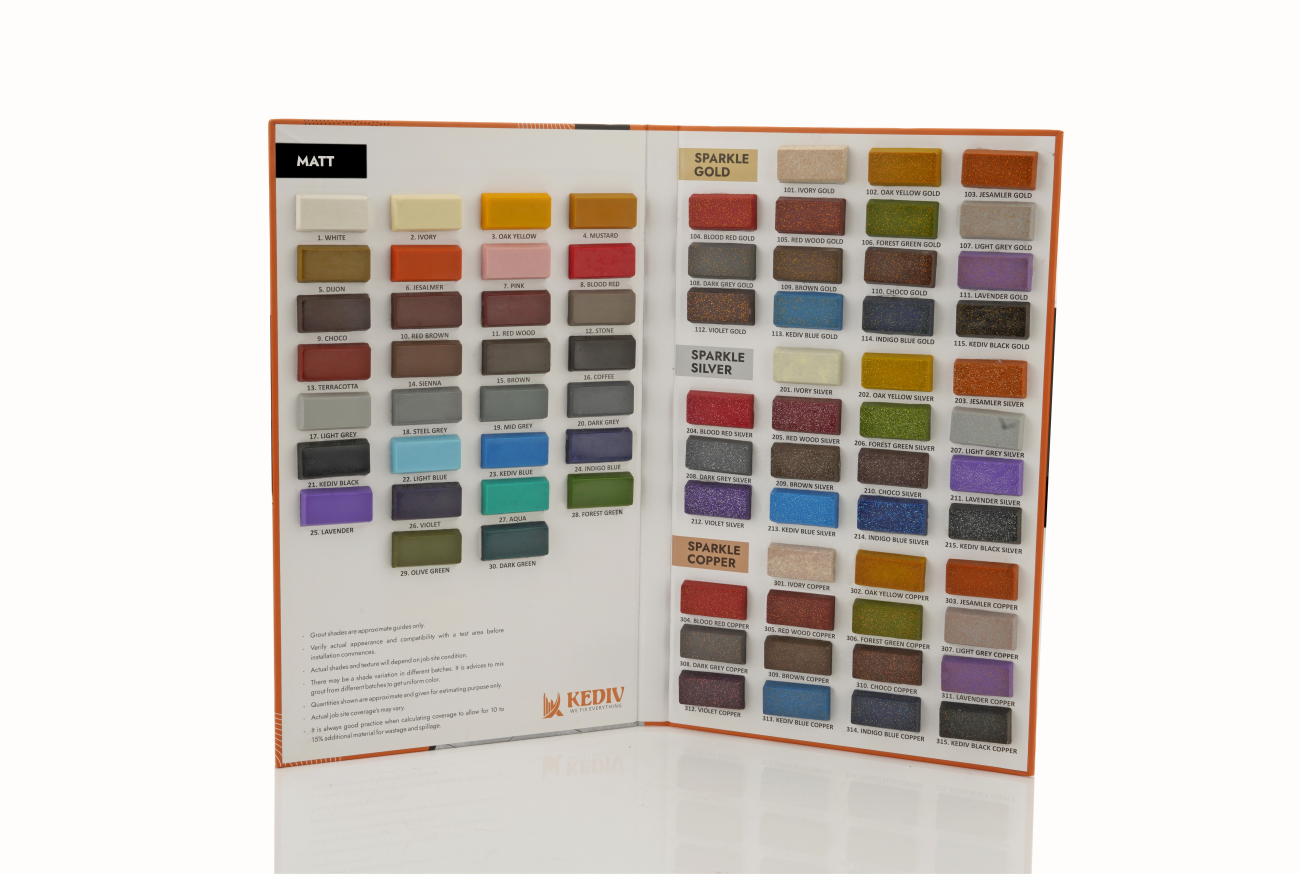
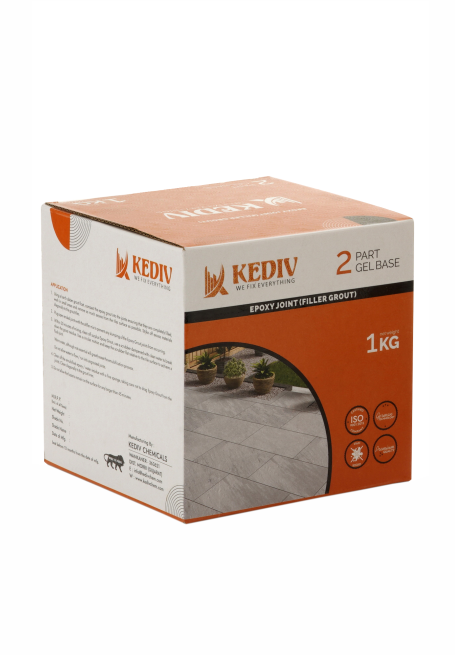
Epoxy Joint - 1 Kg
Resin Based Grouts, Normal & Sparcle


- Walls | Floors I Interiors I Dry & Wet areas I Work tops
- Showers I Swimming Pools I Heavily trafficked floors
- Hygienic sterile I Chemical resistance areas I Hydrotherapy Pools
- Stain free
- Color fast
- Easy to install and clean
- Water cleanable when fresh
- Non-creaking or powdering
- Anti-Bacterial and Anti-Fungal
- High Glossy
- Chemical & Temperature Resistance
- Easy maintenance
- Available in range
- Hard & durable joints
- High strength & VERSATILE
- Waterproof & durable joints
1. Surface Preparation
- Surface must be cleaned and should be free from dirt, cured tile adhesive. Remove dust with wire brush &by air blower.
- For exterior grouting application, wet the tiles prior to applying Kediv Tile Grout.
2. Mixing
- Add the grout powder to the mixing Kediv Grout Hardner (w:p ratio – 1 : 2.5 by volume) and mix with slow speed drill (250-300 rpm) to a soft & smooth consistency paste.
- If the grout mortar has become too stiff to work, it should be discarded and a new batch should be prepared.
3. Application
- Apply to the tile joints with squeegee, spatula or putty blade. After application flush the surface of tile using a hard rubber float, working diagonally across the grout joints to fill and compact the joints. All excess grout should be removed with the same rubber float without any delay.
- Lesser the quantity of grout left on the face of the tiles while application, the final cleaning will be easier. with Kediv Tile Care – Heavy Duty – 156.
- However, it is important to allow the grout to set in the joint and to let it acquire its initial set before any further cleaning. After the initial set of the grout, clean the tile surface with a pad of cheesecloth or towel dampened with minimum quantity of clean and cool water. Rub in a circular motion to further compact the grout.
- The remaining surface grout on the tile can also be cleaned at this time. Scrubbing pad fastened to a float works very well to remove grout from the porous tiles.
- Rebuff the tile surface and grout within 1-2 hours to remove all weep water and grout residue from the surface, which helps to reduce the efflorescence and to control colour variation.
4. Cleaning
- Polish the tiles when the job is complete with a clean dry cloth. Scrubbing the floor with hot water and soap water is the best.
- Due to polymer content, it is advisable to clean the surface immediately after the grouting. Precautions & Limitations
- Do not mix excess Kediv Grout Hardener.
- Kediv Tile Grout cannot be used where high acid resistance is required because of its cement base.
- The potential for efflorescence is inherent in all cement-based products and it is not to be considered as a manufacturing defect.
- Do not mix excess Kediv Grout Hardener.
- Kediv Tile Grout cannot be used where high acid resistance is required because of its cement base.
- The potential for efflorescence is inherent in all cement-based products and it is not to be considered as a manufacturing defect.
| Properties | Results |
| Shear Adhesion Strength | >2 N/m2 |
| Abrasion Resistance | =250mm3 |
| Mechanical Flexural Strength | =30 N/mm2 |
| Compressive Strength | =45 N/mm2 |
| Water Absorption | Nil (1) |
Tensile Adhesion (14day Air)
| Epoxy Grout | >4.5 Dry Condition (kN) |
| Epoxy Grout | >3.6 Wet Condition (kN) |
